Bounty Mode Strategy Guide in Brawl Stars – BrawlOne
Learn how to win in Bounty mode in Brawl Stars with top brawlers, positioning tips, and smart team comps. Updated for 2025’s meta.
Table of Contents
When you step into Bounty mode in Brawl Stars, you’ll quickly realize it’s more than just landing shots and racking up kills. Every move you make, from picking the right brawler to choosing your spot on the map, impacts your team’s chance to secure those vital stars. If you want to consistently outplay your opponents and climb the ranks, there are several key strategies you shouldn’t overlook. Let’s start by breaking down the basics.
Understanding the Rules of Bounty Mode
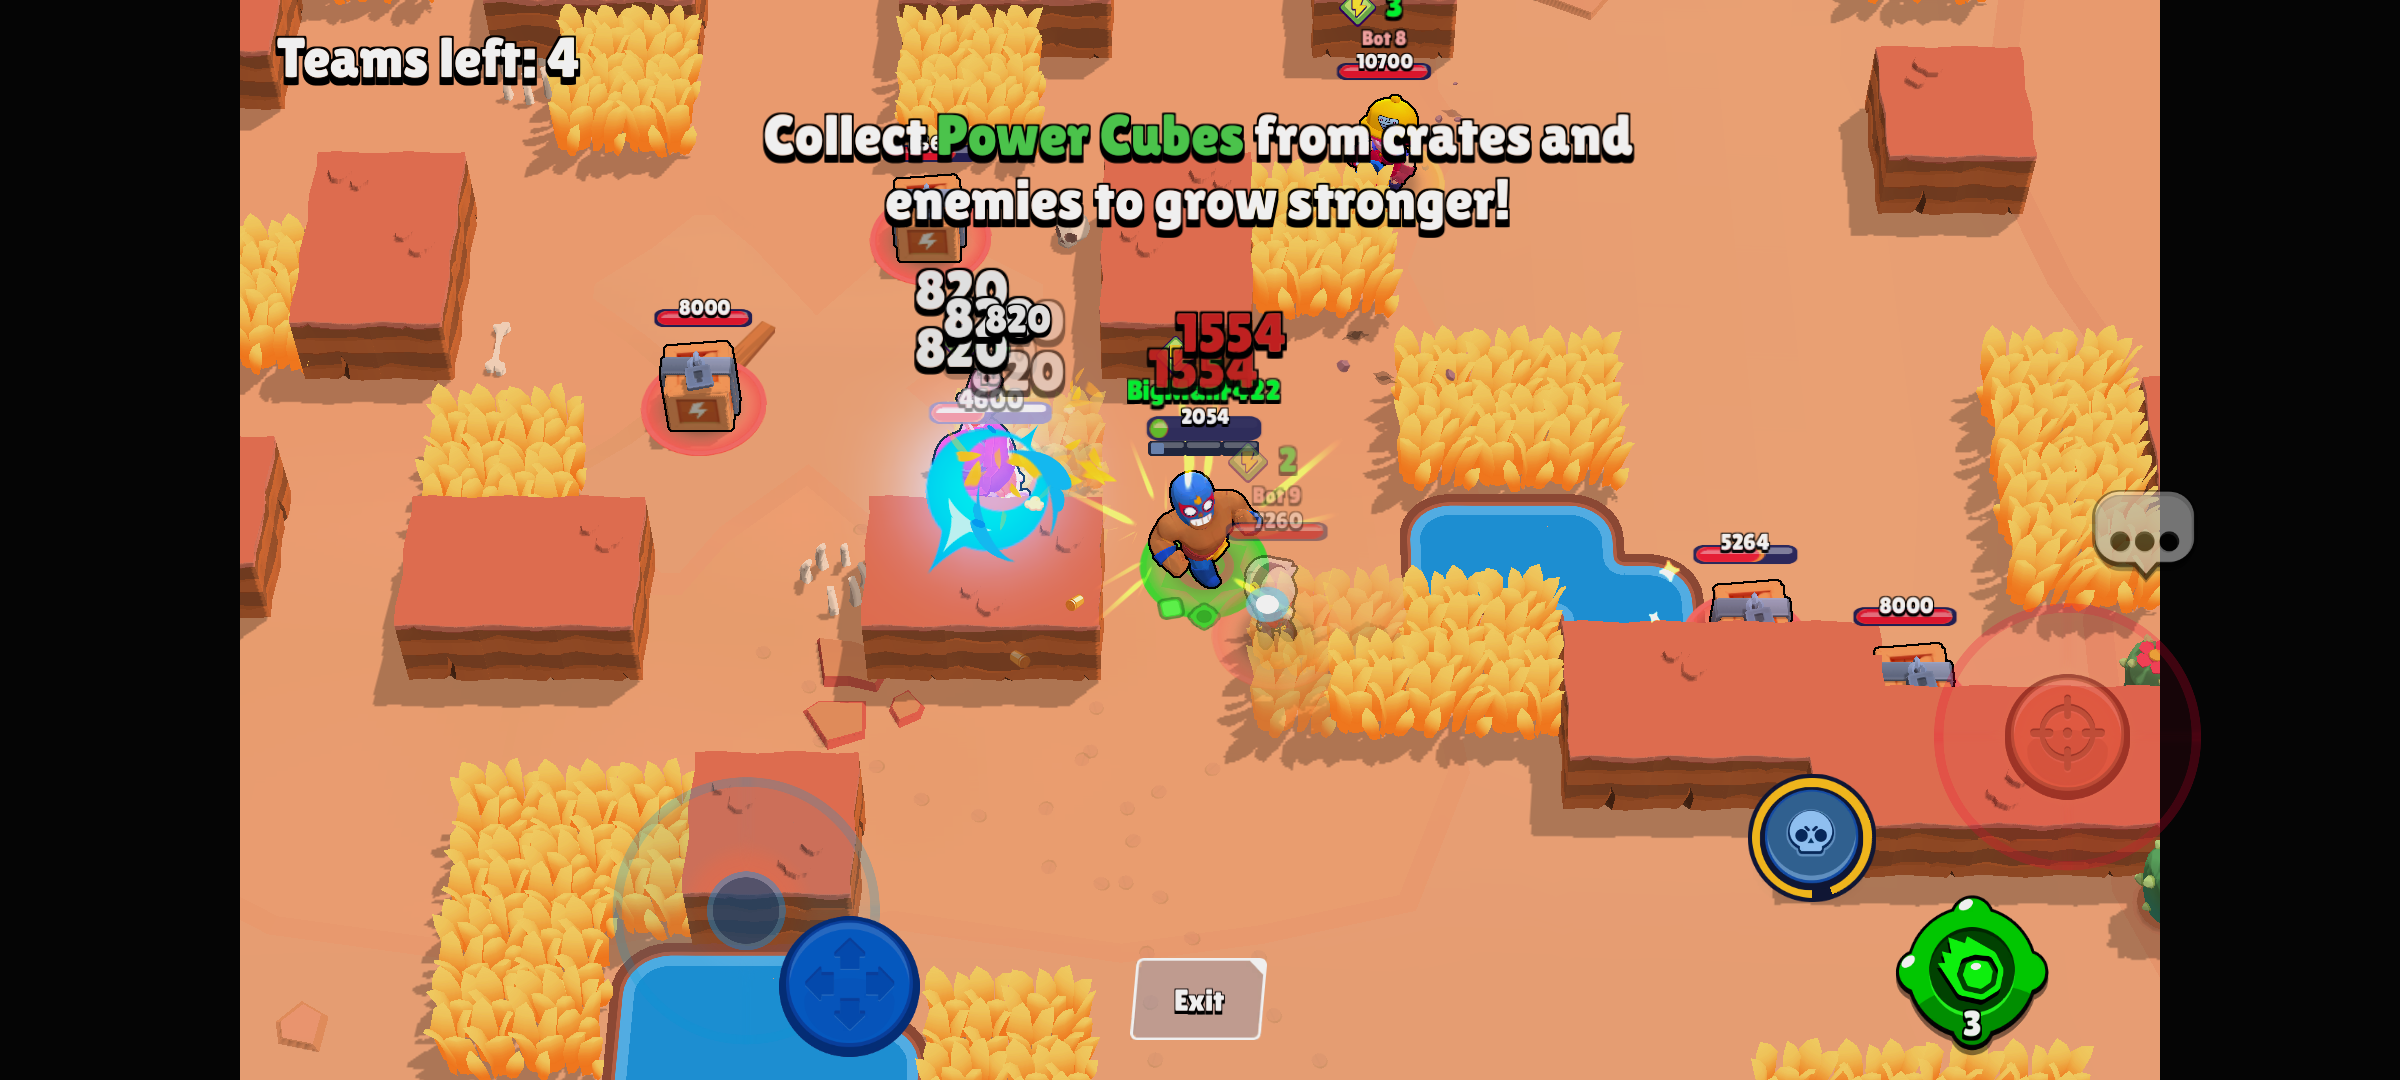
Although Bounty Mode in Brawl Stars might seem straightforward at first, understanding its rules is essential for success. In this mode, your main goal is to collect more stars than the opposing team before time runs out. Every player starts with two stars above their head. When you defeat an enemy, you collect the stars they’ve accumulated, while increasing your own bounty. But remember, the higher your star count, the more valuable you become as a target. One of the best brawl stars bounty mode tips is to play cautiously when your bounty is high. Don’t take unnecessary risks—preserving your life can be just as important as securing kills. Knowing when to retreat helps your team maintain the lead and ultimately win.
Best Brawlers for Bounty Matches
When picking the best brawlers for Bounty matches, you’ll want to focus on those who excel at dealing damage from a safe distance and can escape danger quickly. In Bounty, survival matters as much as aggression, so choosing wisely is key to your bounty team comp guide. Here are four top picks:
- Piper – Her long-range shots deal massive damage, and her Super lets you escape tight spots.
- Brock – Offers powerful rockets from afar and a Super that can clear enemies and obstacles.
- Tick – Provides area control with mines and can force opponents to reposition.
- Nani – Delivers precision damage and has a Super for surprise takedowns or escapes.
Prioritize these best brawlers for bounty to maximize your team’s effectiveness.
Map Awareness and Positioning Tips
A good vantage point can make or break your performance in Bounty mode. You need to understand each map’s layout to maximize your bounty map tactics. Use bushes and walls for cover, but don’t stay in one place too long—predictable movement makes you an easy target. Prioritize high ground and choke points, as they give you better vision and control. Always keep an eye on enemy locations and anticipate flanks. Effective bounty mode positioning means you’ll support your teammates while avoiding overexposure. Don’t push too far into enemy territory unless you’re sure it’s safe; retreat if you’re low on health. Smart positioning lets you collect stars without giving up unnecessary ones, so always balance aggression with caution for consistent success.
Star Management and Risk Assessment
Stars serve as both your score and your lifeline in Bounty mode, making their management essential for victory. Every takedown increases your team’s star count, but each death gives your opponents a chance to catch up or even overtake you. Smart star management and risk assessment help you survive bounty matches and secure the win. Don’t just chase kills—think about your value to the team and the current score. Here’s how you can improve:
- Prioritize survival when holding many stars—don’t risk unnecessary fights.
- Pressure low-star enemies to minimize potential losses if you fall.
- Retreat and regroup when ahead to protect your lead.
- Assess risk before engaging—weigh your star count against possible gains or losses.
Effective Team Compositions
Managing your stars wisely means little if your team composition can't support those decisions. In Bounty, you need effective team compositions that maximize your strengths and cover your weaknesses. For a balanced squad, pick a long-range damage dealer like Piper or Brock, a supportive control brawler such as Tick or Sprout, and a versatile assassin like Leon or Nani. This mix allows you to pressure enemies, control zones, and respond to sudden threats.
In this bounty strategy guide brawl stars, focus on synergy—don’t just pick strong brawlers, pick ones that complement each other. Pairing a healer like Byron with sharpshooters increases survivability. Avoid overlapping roles; redundancy limits flexibility. Adapt your picks to the map and the enemy lineup for the most effective team compositions possible.
Controlling the Mid Lane
When you control the mid lane in Bounty, you dictate the pace of the match and gain essential vision over enemy movements. Mastering mid lane positioning is vital for your team's success, especially when using a brawl stars long-range strategy. Your mid should pressure opponents, deny them key angles, and gather information for your teammates. Here's how you can excel at controlling the mid lane:
- Pick a strong mid brawler—Select sharpshooters like Piper or Brock for superior range and damage.
- Maintain constant movement—Dodge shots and reposition to stay unpredictable.
- Control vision—Scout bushes and monitor enemy rotations to prevent surprise attacks.
- Support your sides—Help teammates under pressure while maintaining your lane dominance.
Stay alert and adapt quickly to enemy strategies.
Flanking and Ambush Tactics
While your team holds the mid lane, effective flanking and ambush tactics can quickly turn the tide in Bounty. To master how to win bounty mode, don’t just attack head-on—sneak around the map’s edges, using bushes and walls for cover. Catching enemies off guard from the sides forces them into awkward positions and often leads to easy eliminations. When you surprise high-star opponents, you earn stars bounty mode rewards more efficiently, increasing your team’s lead. Use Brawlers with mobility or stealth to execute these maneuvers, and always coordinate with your team. Timing your flanks is essential; strike when opponents are distracted or overextended. Ambushes not only secure kills but also disrupt the enemy’s control, giving your team a strategic edge.
When to Retreat and Reset
Although aggressive plays can earn you stars quickly, knowing when to pull back is just as essential in Bounty mode. If you’re carrying a lot of stars or your team’s ahead, reckless moves can turn the tide against you. Retreating and resetting lets you regroup, regain control, and deny the enemy easy points. Keep an eye on your health, positioning, and the state of your teammates before committing to any fight. Use these guidelines to decide when it’s time to fall back:
- Low health: If you or key teammates are low, retreat to heal and avoid giving away stars.
- Outnumbered: Back off if you’re facing multiple foes alone.
- Team wipe risk: Pull back if a wipe would cost your team the lead.
- Respawn sync: Wait for respawning allies to regroup.
Adapting to Enemy Strategies
No two matches in Bounty play out the same, so you’ll need to stay alert and adjust your tactics based on how your opponents behave. Watch for patterns—do they aggressively rush the center or stick to the bushes on the flanks? If enemies group up, use area control Brawlers or throwers to pressure them. When foes play defensively, try flanking or baiting them out of cover. Always pay attention to which enemy controls the most stars; focus on eliminating or pressuring that player to shift momentum. Don’t get predictable—switch lanes or rotate with teammates to keep the opposition guessing. By staying flexible and reading the enemy’s moves, you’ll capitalize on their mistakes and turn changing circumstances into opportunities for your team.
Common Mistakes to Avoid
Staying adaptable gives you a clear edge in Bounty, but even the most flexible players can fall into common traps that cost their team valuable stars. You’ll want to recognize and avoid these pitfalls to maximize your chances of victory. Here are four frequent mistakes you should watch out for:
- Overextending for Kills: Chasing down enemies often leaves you exposed and makes you an easy target, especially when carrying many stars.
- Ignoring Map Control: Neglecting the importance of positioning allows the other team to dominate sightlines and dictate engagements.
- Poor Target Priority: Focusing low-value or hard-to-reach opponents wastes time and resources.
- Neglecting Team Coordination: Acting solo and disregarding your teammates’ positions leads to preventable deaths and lost opportunities.
Stay sharp—every star counts.
Conclusion
Mastering Bounty mode in Brawl Stars isn’t just about racking up kills—it’s about smart play, teamwork, and knowing when to push or hold back. If you use the right brawlers, communicate with your team, and control the map, you’ll consistently collect more stars and claim victory. Don’t forget to adapt your strategy as the match unfolds and always keep an eye on risk versus reward. With these tips, you’re set to shine in every Bounty match!